PanicBNC
The Smart Choice
Clients
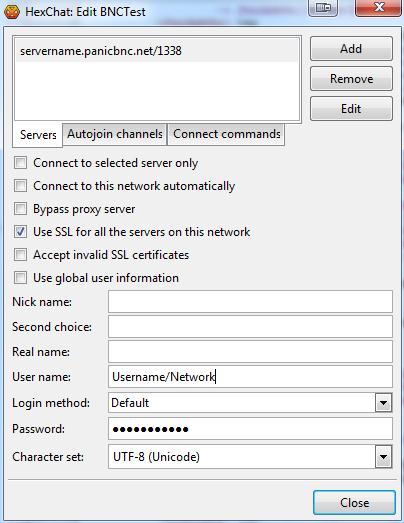
In XChat/HexChat, add a new network using XChat(HexChat) -> Network List. Server = Servername.PanicBNC.net/1338, untick Use Global Info, set Username to BNC username/network, enable SSL, set server password yourpass.
In Quassel, add a new network using Quassel -> Settings -> Configure Quassel -> Networks. Add a new network at the top, select manually specify network settings, Give the network a name, Address = Servername.PanicBNC.net, port = 1338, Password = username/network:password, enable ssl!
In mIRC, connect via /server Servername.PanicBNC.net:1337 yournick:yourpassword. For SSL download OpenSSL library from mirc.com and use :1338.
In irssi, type /network add PanicBNC then /server add -ssl -auto -network PanicBNC Servername.PanicBNC.net 1338 yournick:thepass and /connect PanicBNC.
In ChatZilla, ChatZilla>Preferences>Startup>Auto-connect URLs. Add ircs://Servername.PanicBNC.net:1338/?pass=username:pass . Then ChatZilla>Open Auto-Connect(Locations). Add an exemption for the ssl certificate. Then, enable the ident server, Preferences > server > General > Enable Identification Server during connection process.
In colloquy-iOS, Add connection, set server to Servername.PanicBNC.net, go to Advanced, port 1338, SSL on, SASL off, Username and Password same as BNC password. Connect.
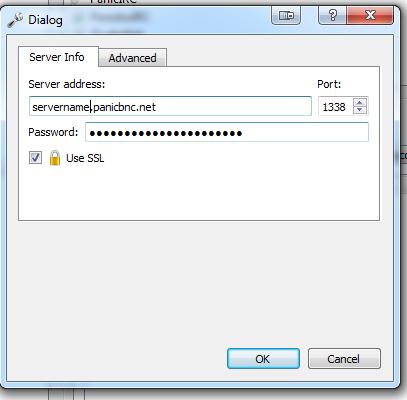
In colloquy, add a new connection. Enter Servername.PanicBNC.net. Set the port to 1338 with SSL. Set the server password to your username:yourpass. Click connect.
In KvIRC goto Settings > Configure servers: Add new network -> (enter a name for the network) -> Add new server (enter Servername.PanicBNC.net). Advanced -> Connection -> port 1338 -> use SSL protocol. Identify (Password: username:password)
In weechat, type /server add [network]ZNC Servername.PanicBNC.net/1338 -ssl -autoconnect -password=yournick:password then /connect [network]ZNC.
In linkinus, On the menu, Connection -> New Connection, then click on New network then add Servername.PanicBNC.net as the server and 1338 as the port. Enable SSL and set the password to theusername:thepass. Connect.
To add PanicBNC as a server in Konversation:
- Click ‘File’ in the upper left hand corner of Konversation.
- Click ‘Server List’ on the menu that opens.
- Click ‘New’ in the window that appears.
- Name the network whatever you would like.
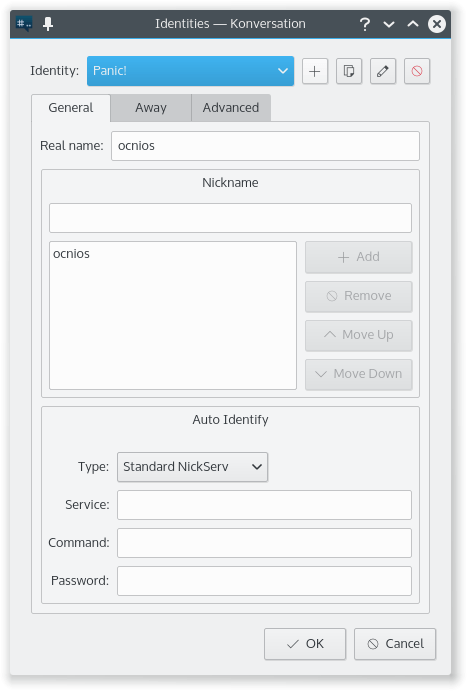
- Chose whichever identity you would like.
- Optionally check the ‘Connect on application startup’ box.
- Click ‘Add’ below the server area.
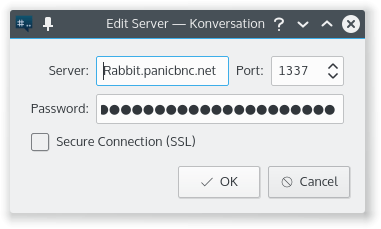
- Enter the server in the window that appears. Ex: Rabbit.panicbnc.net
- Set the port. Default is 1337. SSL is 1338.
- In the password field enter: username/network:password
I created a new one called Panic! that has a username and no password or nickserv info.
If you use port 1338 for SSL, make sure to check the SSL box.
You should now be able to connect. Enjoy!
Thanks to ocnios from #PanicBNC for the tutorial